Pages

Showing posts with label Desserts. Show all posts

Wednesday, March 6, 2013

Avocado Brownies

I absolutely love putting avocados in desserts!  It makes them super creamy and adds some healthy fat.  I usually put avocado in chocolate pudding but this time i wanted to try putting avocado in a different dessert, brownies!  These brownies were eaten so fast, everyone loved them!  I have to go buy more avocados to make this tasty treat again!


This recipe was adapted from here.  I made a few changes to the original recipe.  Here is how I made my Avocado Brownies:

Ingredients:

  • 1/3 cup GF rolled oats
  • 3/4 cup black beans 
  • 1 mashed avocado
  • 1/4 cup cocoa powder
  • 2 tbsp ground flaxseed + 6 tbsp water
  • 1 tsp vanilla extract
  • 1/3 cup raw sugar
  • 1/4 cup mini chocolate chips, divided (or more!)
  • 1/2 tsp salt
  • 1/2 tsp baking powder
Directions:


  1. Preheat oven to 350F.  Grease a 9x9 inch square pan and set aside.
  2. In a small bowl, mix together the ground flaxseed and water and set aside.
  3. In a food processor, process the oats into a flour.  Add the beans and process until very smooth.
  4. Add the mashed avocado, cocoa powder, flaxseed mixture, vanilla extract, and sugar to the food processor and blend until smooth.
  5. Melt 2 tbsp of the chocolate chips in the microwave.  Add to the food processor and blend.
  6. Add the salt and baking powder and pulse until they are incorporated.
  7. Stir in the other 2 tbsp of chocolate chips.
  8. Pour the batter into the prepared pan and use a spatula to distribute it evenly and make sure it is smooth.
  9. Bake for about 25 minutes.  Allow to cool before slicing.

I know the combination of black beans and avocado may sound unusual, but don't be scared off!  You cannot even taste the black beans, all you will taste is creamy chocolate!  And of course you can always add extra chocolate chips into the batter before baking!


This recipe yields 9 brownies.  One brownie yields approximately 128 calories and 3g protein.


Thursday, February 14, 2013

Fudgy Red Velvet Brownies

Even though Valentine's Day is practically over, here is a dessert that is perfect for this holiday.  Red Velvet seems to be very popular around this time of the year. Unfortunately, many recipes that are named Red Velvet (brownies, cookies, cake, etc.) are usually filled with red dye food coloring.  Food coloring can come with a lot of health risks including cancer, birth defects, allergic reactions, hyperactivity, and other behavioral problems.  Check out this website for more information.  Food coloring is definitely fun to use to turn food vivid fun colors, but it is not worth these health risks.  I would much rather color my food naturally.

Today I am posting a recipe for Red Velvet Brownies.  This recipe uses beets to naturally color the brownies red.  However, my brownies still came out looking like regular chocolate brownies, which I think is either because I used canned beets or it might be because of the amount of cocoa powder used in this recipe.  Some people might prefer there brownies to look regular and others might miss that red velvet color.  I recommend trying to use fresh cooked beets to get that red color.  If that doesn't work, I'm sure you could try reducing the amount of cocoa powder or maybe leaving it out completely, but then your brownies won't taste chocolatey.


This recipe was adapted from here:

Ingredients:

  • 1 cup red kidney beans
  • 1/2 cup cooked beets
  • 1/2 cup cocoa powder
  • 1 tsp vanilla extract
  • 1/2 tsp almond extract
  • 3/4 tsp baking powder
  • 1/8 tsp baking soda
  • 4 tbsp applesauce
  • 1/8 tsp salt
  • 3/4 cup raw sugar
  • 1/2 cup ground flax
Directions:
  1. Preheat oven to 350F and spray an 8x8" pan with cooking spray.  Set aside.
  2. In a food processor, puree kidney beans and beets.  Transfer to a large bowl.
  3. Add the remaining ingredients and stir until smooth and well combined.
  4. Spread batter evenly into prepared pan.
  5. Bake for 40 minutes.  The brownies are done when a toothpick comes out slightly clean.


These brownies are fudgy!  If you don't like fudgy brownies I guess you can try cooking them a little longer, but I cannot vouch for these results.  I like fudgy brownies so I found these to be perfect!

I love that these brownies are tasty and you are getting some healthy nutrients.  Beans and vegetables in a dessert!  And you cannot even taste it!  I'll take that kind of dessert any day.


Based on 9 servings, each brownie yields approximately 128 calories and 4g protein.


Sunday, January 13, 2013

Banana Walnut Cookies

If you have a dehydrator, this is a great recipe to make a simple, raw, and nutritious cookie!


This recipe was adapted from here.  I quadrupled the recipe so I would have extras.

Ingredients:

  • 4 bananas
  • 1/4 cup walnuts
  • 1/4 cup raisins
  • 1 tsp cinnamon, or to taste
Directions:
  1. Mash bananas.
  2. Combine all ingredients in a bowl and mix together.
  3. Spoon into 40 cookies on a dehydrator sheet.
  4. Dehydrate at 115 for 8-10 hours.
After my cookies were finished in the dehydrator, I let them sit out on the counter for a day and the next day they were the perfect consistency.  These are also great portable snacks to pack and take with you for work, school, traveling, etc.


It would be fun to try adding different ingredients in these cookies, like chocolate chips, peanut butter, or different nuts!

If you don't have a dehydrator, I'm sure you can still make this cookie in the oven at a low temperature.  I haven't tried these in the oven myself though, so I am not sure what temperature the oven should be set at or for how long.

You could also just make a single serving of this recipe and eat it straight out of the bowl for a tasty snack!  Maybe even add in some peanut butter :)


Based on making 40 cookies, each cookie yields approximately 32 calories and <1g protein.

Saturday, December 29, 2012

Apple Crisp

Last but not least, Christmas Eve ended with dessert!  I love apples.   I've always wanted to try an apple crisp but usually when I just bake an apple for myself it is always easiest just to chop one apple, bake it, and sprinkle it with cinnamon.  A perfect snack/dessert on a cold winter's night.  However, it is not an apple crisp.  With all the dishes that were made for Christmas Eve, I wanted a lighter dessert that would be more on the healthy side.  Since I was making dessert for the family, I knew this would be a perfect time to try out a real apple crisp.

This recipe was adapted from here:

Ingredients:

  • 3 large apples, sliced (I used Fuji)
  • 1 tbsp lemon juice
  • 2 heaping tsp ground cinnamon
  • 1/4 tsp ground nutmeg
  • 3 tbsp agave or maple syrup (divided)
  • 1/3 cup almond flour
  • 1/2 cup GF rolled oats
  • 1/2 tsp baking soda
  • 1/2 tsp baking powder
  • 1 pinch salt
  • 1 tbsp coconut oil
Directions:
  1. Preheat oven to 350F.  Lightly grease an 8x8 glass baking pan.
  2. In a large bowl, toss sliced apples, cinnamon, nutmeg, and 1 tbsp of agave.
  3. Pour apple mixture into glass baking pan and bake for 10 minutes.
  4. While apples are baking mix the rest of the ingredients in a bowl. (Melt coconut oil before adding to easier mixing.)
  5. When the apples are ready, remove them from the oven and sprinkle the topping mixture over the apples.
  6. Place back in the oven and bake for 20-25 minutes, or until golden brown.
You can enjoy this right away, or top with Coconut Ice Cream for Apple Crisp A La Mode.


This was a very easy dessert to make and the entire family absolutely loved it!  I cannot wait to bake it again!  In fact, I was so excited to try it myself that I forgot to take a picture.  Good thing I plan on making it again and will post a picture in the future.


Christmas Eve 2012 Dishes:
Apple Crisp


This recipe makes 4 servings.
Based on using Fuji Apples, Bob's Red Mill Gluten Free Rolled Oats, and agave, 1 servings yields approximately 293 calories and 4g protein.


Tuesday, December 4, 2012

Chocolate Banana Avocado Pudding

One of my favorite desserts to make is this Chocolate Avocado Pudding.  Whenever, I am craving something sweet and chocolaty, but want to keep it healthy, this is the dessert I turn to.  The avocado gives it the perfect creaminess and the chocolate gives me the sweet flavor I am craving.

I recently came across a recipe that included a banana into this pudding.  I love bananas and could just imagine the extra creaminess and sweetness this fruit would give the pudding.  Plus, the recipe includes cinnamon and that is one of my favorite spices; especially this time of the year!

This recipe was adapted from Edible Perspective:

Ingredients:

  • 1 small avocado
  • 1 medium banana
  • 3 tbsp dark cocoa powder
  • 1/2 tsp vanilla
  • 1/2 tsp cinnamon
  • 1 tablespoon maple syrup
Directions:
  1. In a food processor, blend avocado and banana until smooth.
  2. Add in the rest of the ingredients and continue blending until everything is incorporated, scraping down the sides of the processor as needed.
  3. Pour into 2 dessert glasses and refrigerate for at least 1 hour or overnight.
The longer this pudding sets, the thicker it gets.  I also think the banana flavor merged in perfectly the longer it set as well.  I loved the hint of banana in this pudding!  I can't wait to make this delicious treat again!


This recipe makes 2 servings.
Based on 1 serving, this recipe yields approximately 204 calories and 3g protein.

Wednesday, October 31, 2012

Walnut Pumpkin Pie

Happy Halloween!  Since it is Halloween, I have got to keep the pumpkin recipes going and what a perfect time to make a delicious pumpkin pie!


Since I do not eat a lot pretty much all of the typical Halloween candy, I figured I should make a pumpkin pie.  A no-bake, vegan, gluten free one of course!  Plus, I had to try out this recipe before Thanksgiving because I wanted to make it again for Thanksgiving if it was a success.  I am so happy it was, because this pie is filled with healthy omega-3's, vitamin A, and fiber.


Some other benefits of this pie:
  1. Super easy to make, just mix everything in a blender.
  2. Which means super easy to clean up, just the blender and a few measuring spoons.
  3. You don't have to stay at home waiting for it to bake, just put it in the fridge and you can run errands outside the house.

This recipe was adapted from Healthy Happy Life.  She lists quite a few alternative ways to make this recipe so definitely check out the original recipe to suit your taste buds and preferences.  Here's the recipe I used:

Crust Ingredients:
  • 1/3 cup raw walnuts
  • 1/2 cup gf rolled oats
  • 2 tablespoons organic coconut sugar
  • 1/2 tsp salt
Filling Ingredients:
  • 1/4 cup almond milk
  • 1 tablespoon chia seeds
  • 1 15oz can pumpkin puree
  • 1/2 cup organic coconut sugar
  • 1/2 cup raw walnuts
  • 3/4 tsp salt
  • 1 1/2 tsp pumpkin pie spice
  • 1/4 cup organic virgin coconut oil (melted)
Directions:
  1. To make the crust, mix together all ingredients in a food processor until well blended and mixture holds together.
  2. Press crust into a greased pie pan and set aside.
  3. To make the filling, mix together almond milk and chia seeds. (This is done first to allow the chia seeds to form a gel in the almond milk.)
  4. In a blender, combine pumpkin, coconut sugar, walnuts, salt, and pumpkin pie spice.  Blend until smooth and creamy.
  5. Add in the almond milk and chia seed mixture.  Blend until incorporated.
  6. Add in the coconut oil.  (Do this quickly, and make sure the coconut oil is very warm so it does not harden too quickly in the pumpkin mixture, unless you have a vitamix and can add the coconut oil with the blender on a low setting.)  
  7. Blend until everything is combined.  You may need to scrape down the sides of the blender as needed.
  8. Pour filling into prepared pie pan.  Smooth the filling with a spatula so it is smooth and even.
  9. Place in the refrigerator and let it sit for at least 4 hours, but the longer it sits the more it will firm up. (I let mine sit overnight.)

I chose to make a crustless pie.  I was never the biggest fan of the crust part of the pie, I would rather just eat the filling!  However, this pie was not the firmest and probably would have held together better with the crust, so I think next time I will make the crust too.  If you prefer no crust and want a firmer pie, try adding more coconut oil, probably about 1/3-1/2 cup.)

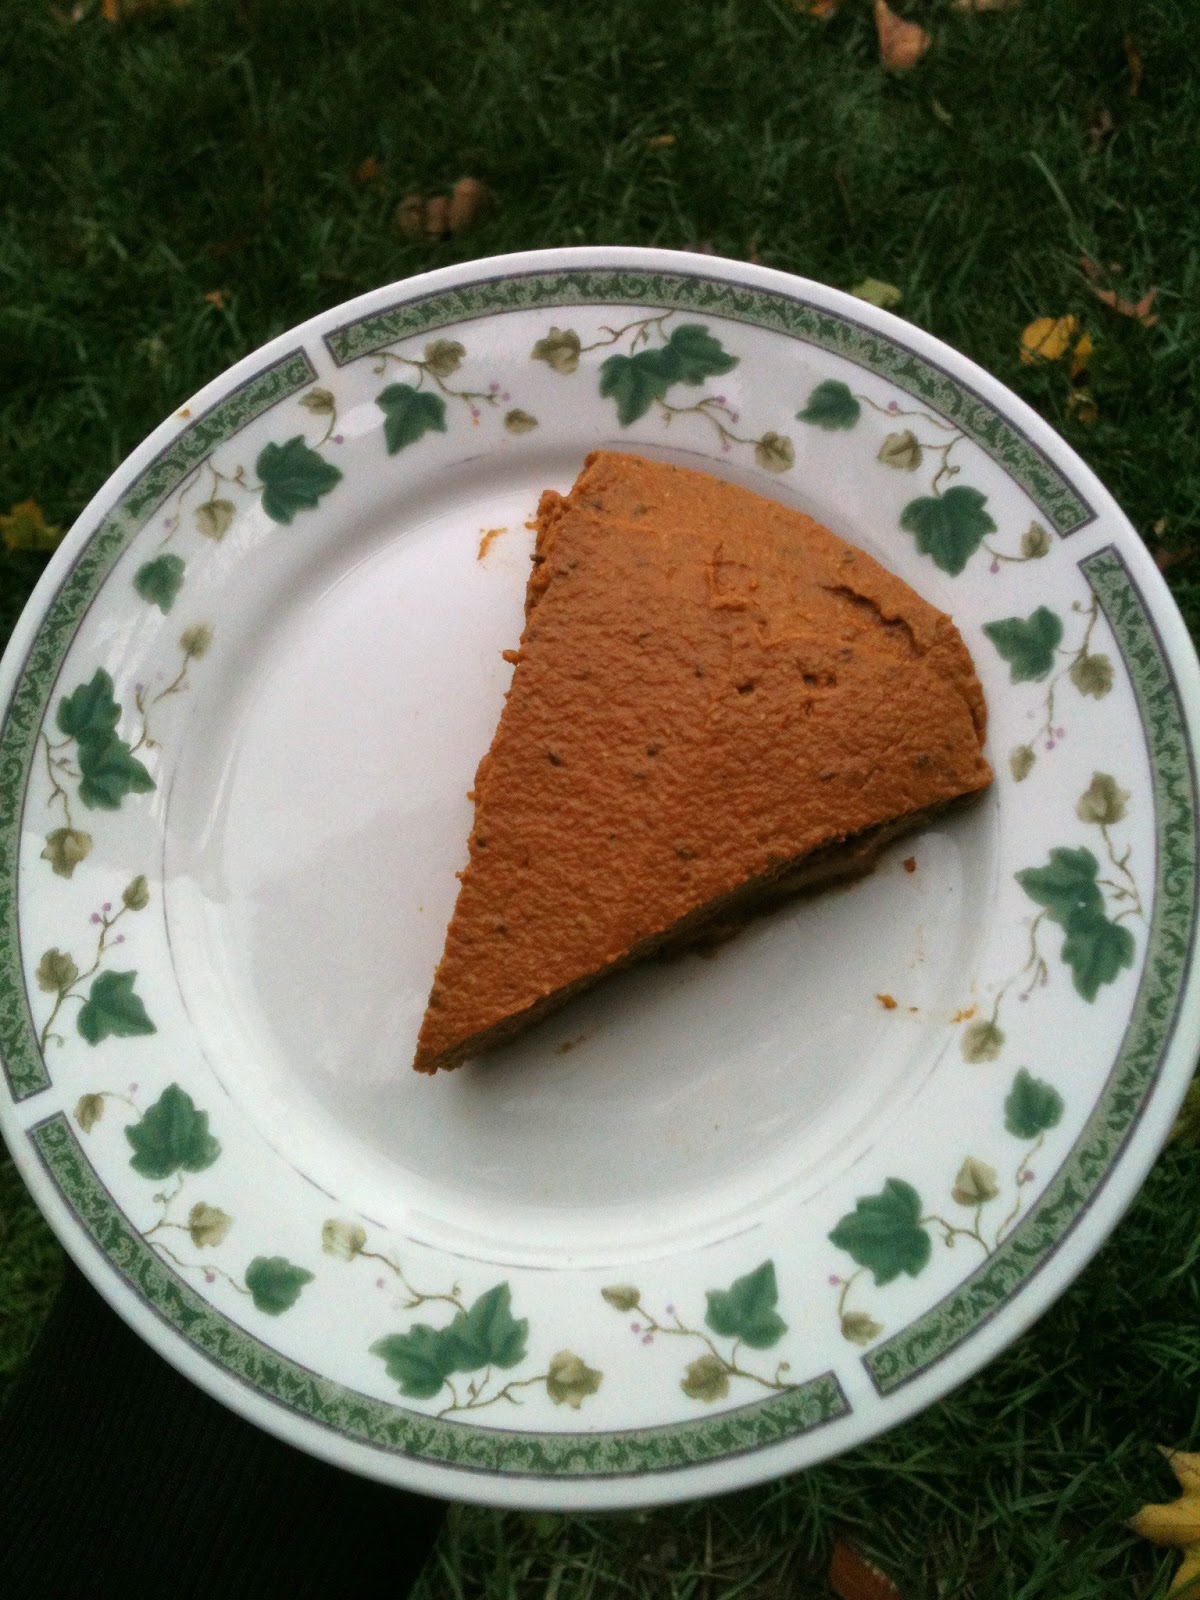
Walnut Pumpkin Pie before slicing!


This pie tasted so good!
What a great treat to celebrate with on Halloween!


Based on using original Silk PureAlmond Milk and cutting the pie into 8 slices:
For one slice with no crust this recipe yields approximately 228 calories and 2.5g protein.
For one slice with crust this recipe yields approximately 298 calories and 4g protein.

Friday, August 17, 2012

Strawberry Banana Sorbet

After being out in the sun on a hot day in the summer, sometimes you want a nice cool treat.  I went into my freezer saw a frozen banana and some frozen strawberries and knew I would be making Strawberry Banana Sorbet.


This sorbet works best if you have a high-speed blender because then you can just blend the frozen fruit and it will be a perfect consistency.  However, if you don't have a high-speed blender you may need to add almond milk, but then it may be more like a smoothie (which is fine too).  However, if you don't have a high-speed blender and would prefer sorbet over a smoothie and need to add almond milk, just add xanthan gum to thicken it up a bit.  (That's what I did and it was delicious!)

Ingredients:
  • 1 frozen banana, thawed
  • 5 frozen strawberries, thawed
  • a splash of almond milk (optional)
  • 1/8 tsp xanthan gum (optional for thickening)
Directions:
  1. Thaw the frozen fruit.  The strawberries will take longer to thaw.
  2. Blend the banana and strawberries until creamy.  You may need to add some almond milk to get everything moving.
  3. If you add almond milk, you may want to add xanthan gum to thicken up the sorbet.
  4. Scoop into a bowl (or glass for a smoothie) and enjoy!

You can even top this with additional strawberries or some chocolate sauce! 
Or try different variations like blending in different fruits (but keep the banana for creaminess), peanut butter, cocoa powder, etc.

Thursday, August 9, 2012

Rice Pudding

It's National Rice Pudding Day!  Guess I know what I'm having for dessert tonight.


This recipe was adapted from Happy Herbivore:

Ingredients:
  • 1/3 cup brown rice, uncooked
  • 2 cups almond milk
  • 1/3 cup raisins
  • 2 tbsp cornstarch
  • 1/2 tsp cinnamon
  • 3 tsp pure maple syrup, or to taste (optional)
Directions:
  1. In a medium sauce pan, combine rice with 1 cup almond milk and bring to a boil over high heat.
  2. Once boiling, reduce heat to low and continue to cook until the rice is cooked and absorbs all the milk.
  3. Whisk remaining 1 cup of almond milk with cornstarch until well combined and add to the cooked rice.  Add raisins.
  4. Bring to a boil over high heat, then reduce to medium.  Continue to cook until the pudding thickens up, stirring constantly. (This will keep it from sticking and burning to the pan.) If the pudding becomes too thick, add more almond milk.
  5. Add maple syrup (or other sweetener, if desired) and cinnamon.
  6. Remove from heat and allow pudding to cool before transferring to the fridge.

I had to add more almond milk to my pudding since the rice took forever to cook and the pudding was getting too thick.  Even though I added more almond milk when cooking, the pudding became really thick after having been in the fridge all day.

I tasted this rice pudding cold and I actually preferred it warm so to make it creamier I added some almond milk and heated it in the microwave for about 45 seconds.  Perfect!  You can also just eat this right after cooking it on the stove if you prefer it warm and don't want it to get thick in the fridge.

Saturday, July 21, 2012

Vanilla Avocado Ice Cream

Last week was super hot, I had an avocado that needed to be used and some frozen bananas in the freezer.  Avocados and bananas can make anything creamy and frozen bananas can make ice cream.  Searching the internet I found a recipe for ice cream that I knew I had to try on those hot summer days!


This recipe was adapted from here:

Ingredients:
  • 1 ripe avocado
  • 1 medium frozen banana
  • 1 tsp vanilla
  • 1/2 cup almond milk
  • 1/4 tsp guar gum (optional)
  • 1/8 tsp xanthan gum (optional)
Directions:  Blend everything together in a blender until smooth.  Eat immediately (more of a smoothie or soft serve) or pour the mixture into a container and put it in the freezer.  When you're ready to eat or after at least an hour, let it thaw for about 5 minutes then reblend to form ice cream.

Notes:
  • Your bananas don't have to be frozen, but if they aren't add ice cubes.
  • The gums are optional but the guar gum adds creaminess and the xanthan gum adds thickness.
I ate this two ways.  The first I actually ate right away, more as a smoothie.  I think I preferred this way.  It was still cold but actually more like soft serve (after freezing it, it had some ice crystals.)  And since I added the gums it was really creamy and thick.

Not the best picture since I used a teal colored bowl and was not planning on sharing this picture, but since I enjoyed the "soft serve" ice cream better I had to show what it looked like.

Another not great picture, but look how thick it is - not even falling off the spoon!

A few days later, I ate it like ice cream.  I guess I was impatient and should have waited for it to thaw more, maybe then I would have liked it better.  Next time I think I'll just store it in the fridge and eat it as a smoothie or soft serve.


Sunday, July 8, 2012

Very Berry Cashew Cake

I have been wanting to try making a raw vegan cheesecake ever since I first discovered it was possible.  After eating Great Sage's Raw Blueberry Cheesecake, I knew I had to try making a raw cheesecake dessert.  Their's was amazing!

I am calling this a Cashew Cake because even though it's a vegan cheesecake, I do not want people making this and biting into it expecting that typical cheesecake flavor. Instead, this "cheesecake" is so fresh tasting with the fresh berries that the juice just flows into your mouth with every bite and the cashews give it that perfect creaminess instead of using milk and butter. This dessert is also perfect to make in the summer because it's raw! No oven necessary :)


This recipe was adapted from the blog, Fragrant Vanilla Cake.

Ingredients:

Crust:
  • 3/4 cup raw hazelnuts
  • 1/8 tsp sea salt
  • 3 soft medjool dates, pitted and chopped
Filling:
  • 2 1/2 cups raw cashews (soaked for 4-6 hours)
  • 1/4 cup + 3 tbsp coconut water
  • 2 tbsp lemon juice
  • 1/3 cup + 3 tbsp agave nectar
  • 1/2 cup coconut oil (warmed to liquid)
  • 1/2 tsp sea salt
  • 1 tbsp + 1 tsp vanilla extract
  • 1/2 cup fresh strawberries
  • 1/2 cup fresh raspberries
  • 1/2 cup fresh blueberries
  • 1/2 cup fresh blackberries
Directions:
  1. Grease an 8 1/2 inch round cake pan and set aside.
  2. To prepare the crust, process hazelnuts and sea salt in a food processor until fine crumbs form.  Add the dates and process until the mixture is well combined and holds together.  Firmly press the crust into the bottom of the prepared pan and set aside.
  3. To make the filling, drain the cashews and combine them with coconut water, lemon juice, agave nectar, coconut oil, sea salt, and vanilla in a food processor and blend until smooth and creamy.  Remove the filling from the food processor and divide evenly between 2 bowls.  Place half back into the food processor and add the strawberries and raspberries.  Blend until smooth then put in a bowl and set aside.  Place the other filling into the food processor and add the blueberries and blackberries.  Blend until smooth and put in a separate bowl. 
  4. To assemble the cheesecake, drop a spoonful of the pink filling mixture on top of the crust.  Next, drop a spoonful of the purple filling mixture on top of the crust.  Continue alternating between each filling in a checkerboard fashion until the filling mixtures are all used up.  Tap the pan on the counter to keep the cheesecake level, if needed.
  5. Take a knife and swirl the filling to create marbling.  Place in the fridge overnight to set.  (If you need the cheesecake that day, you can place it in the freezer for 6 hours.)

I am so amazed at how much this recipe tastes just like the cheesecake at Great Sage, just different berry flavors!


Tuesday, June 26, 2012

Chocolate Chip Protein Cookies

I was in the mood for some cookies today and wanted to try these protein cookies; they seemed like a great way to get my protein for the day!  They are very similar to these Peanut Butter Chocolate Chip Cookies except they don't use peanut butter but protein powder as the main protein source.


I made a few changes to the original recipe, which is adapted from here.

Ingredients:
  • 1 can chickpeas, rinsed
  • 3 tablespoons water
  • 1/3 cup protein powder (I used brown rice protein)
  • 1/4 cup agave (can be omitted)
  • 1 teaspoon vanilla extract (can be omitted)
  • 3/4 cup chocolate chips
Directions:
  1. Preheat oven to 350F.
  2. In a food processor, blend chickpeas.  Add water, protein powder, agave and vanilla (if using) and blend until dough forms.
  3. Stir in the chocolate chips with a wooden spoon.
  4. Form into 1-inch balls and place on cookie sheet.  Bake for 15 minutes.
These were super tasty and easy to make, and since their made with chickpeas and have SO much protein powder, these are definitely a no guilt cookie!  I will be making these again sometime very soon.


Wednesday, June 13, 2012

Peanut Butter Chocolate Chip Cookies

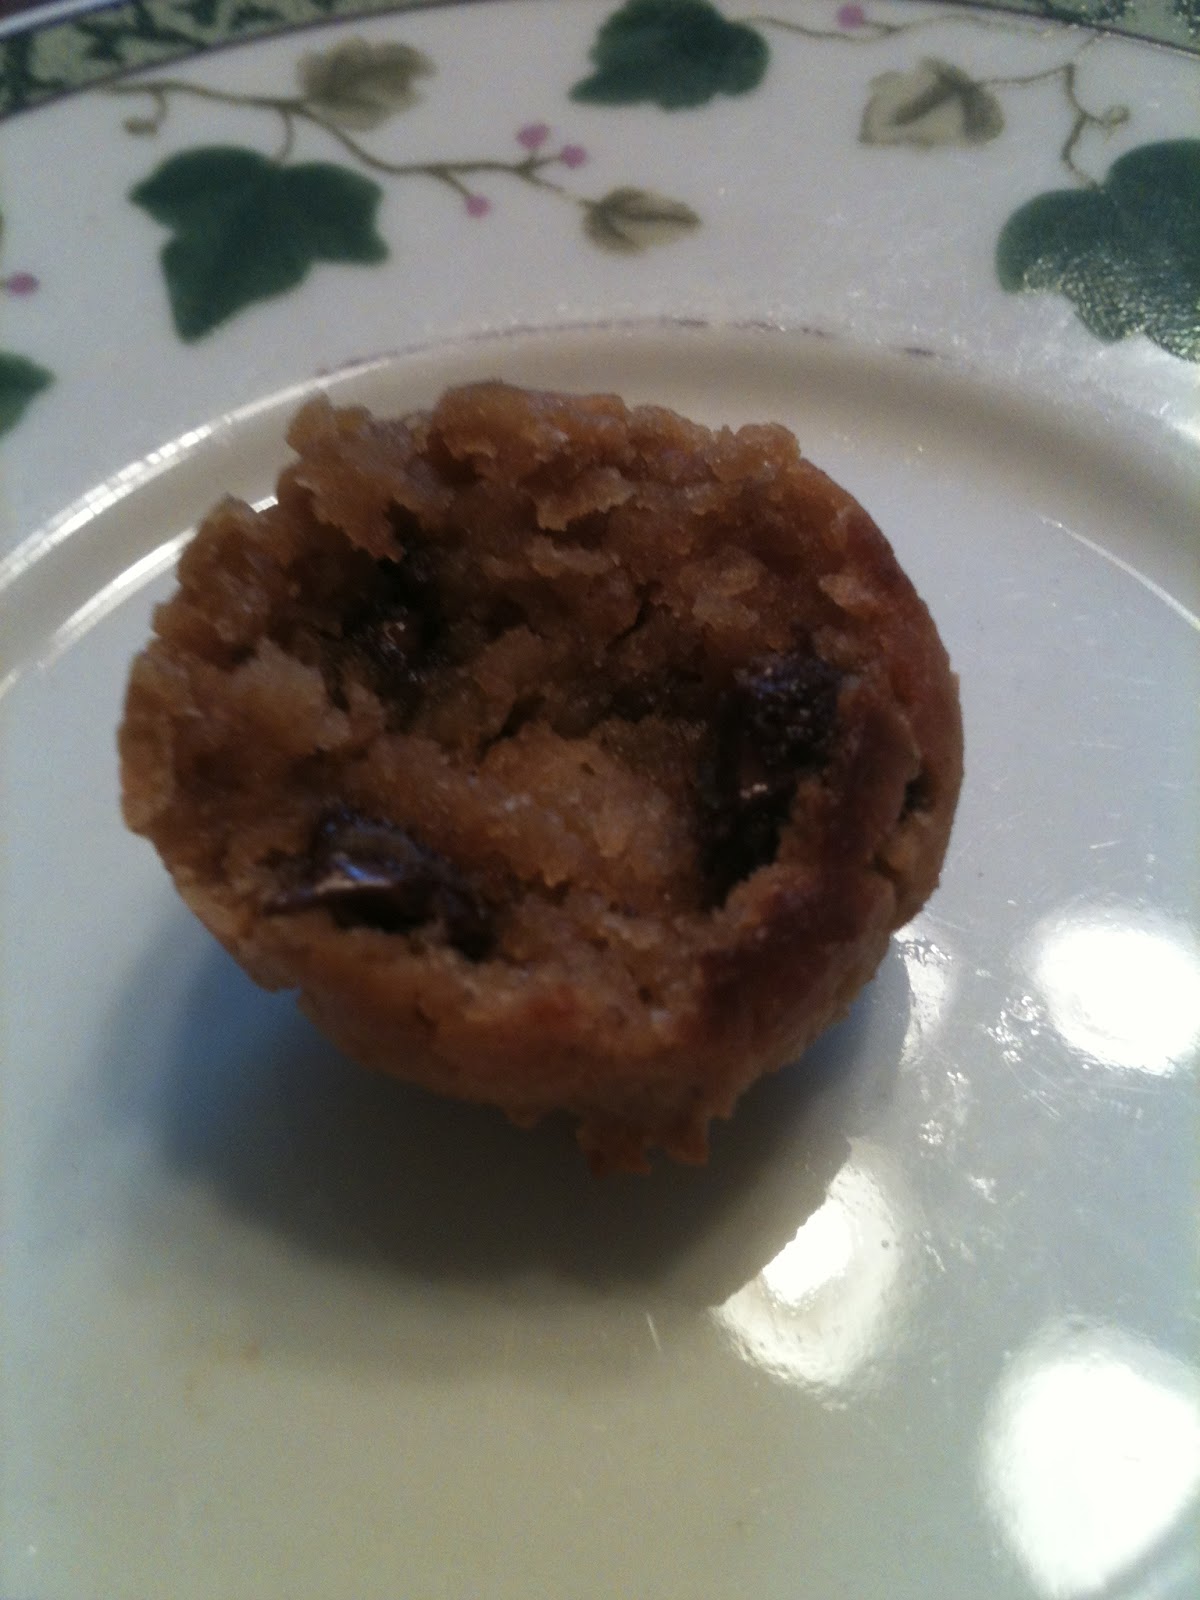
I found these Peanut Butter Chocolate Chip Cookies through pinterest.  They seem very similar to this cookie dough I've made before (I haven't put up the recipe on my blog yet) but this recipe bakes the "dough" into actual cookies.  When I made these, I cut the recipe in half (I didn't need ALL those cookies around).  By halfing the recipe I made 13 cookies (I think mine were smaller than the cookies made in the original recipe.) 

Here's the recipe to make the full batch of cookies which was inspired from here:

Ingredients:
  • 1 and 1/4 cup chickpeas, drained and rinsed
  • 2 teaspoons vanilla extract
  • 1/2 cup + 2 tablespoons natural peanut butter
  • 1/4 cup agave
  • 1 teaspoon baking powder
  • 1/2 cup chocolate chips
Directions:
  1. Preheat oven to 350.
  2. Combine all ingredients, except chocolate chips, in a food processor and blend until smooth, scraping down the sides as needed.
  3. Stir in chocolate chips.
  4. Wet hands and form the dough into balls. The dough will be VERY sticky.
  5. Place each ball on parchment paper.
  6. Bake for 10 minutes

Note: Even if the cookies do not look completely done after 10 minutes,they will continue to bake slightly after taking them out of the oven as they are cooling.


These cookies are also very similar to these Chocolate Chip Protein Cookies.


Based on one cookie (depending on size of your ball):
Approximately 60 calories and 3g protein.
Tuesday, June 12, 2012

Peanut Butter Cups

After I made these Banana Split Bites, I had some extra melted chocolate.  Since I am a chocolate lover there was no way I was about to waste that delicious chocolate.  I had two options: eat the chocolate straight from the bowl or make a mini peanut butter cup.  I already had the mini cupcake liners out so I decided on the latter option.

To make these peanut butter cups, all you have to do is use leftover melted chocolate or just melt a tablespoon of vegan chocolate chips (to make one) in the mircowave (or you can always melt more chocolate to make more peanut butter cups).  Spoon a little bit of chocolate in a mini cupcake liner and freeze for about 15 minutes.  Scoop some peanut butter on top of the frozen chocolate (the amount is up to you on how peanut buttery you want your Peanut Butter Cup).  Finally, top that with the rest of the melted chocolate.  Freeze for another 15 minutes or longer if you want to eat it later.  If you keep it in the freezer for a few hours make sure to thaw for at least 10 minutes before enjoying!


To make these look even more like the real thing you can even spread the chocolate not only on the bottom of the mini cupcake liner but also around the sides so that the peanut butter is just in the middle once you spoon the rest of the melted chocolate on top!

Tuesday, June 5, 2012

Chocolate Tofu Pie

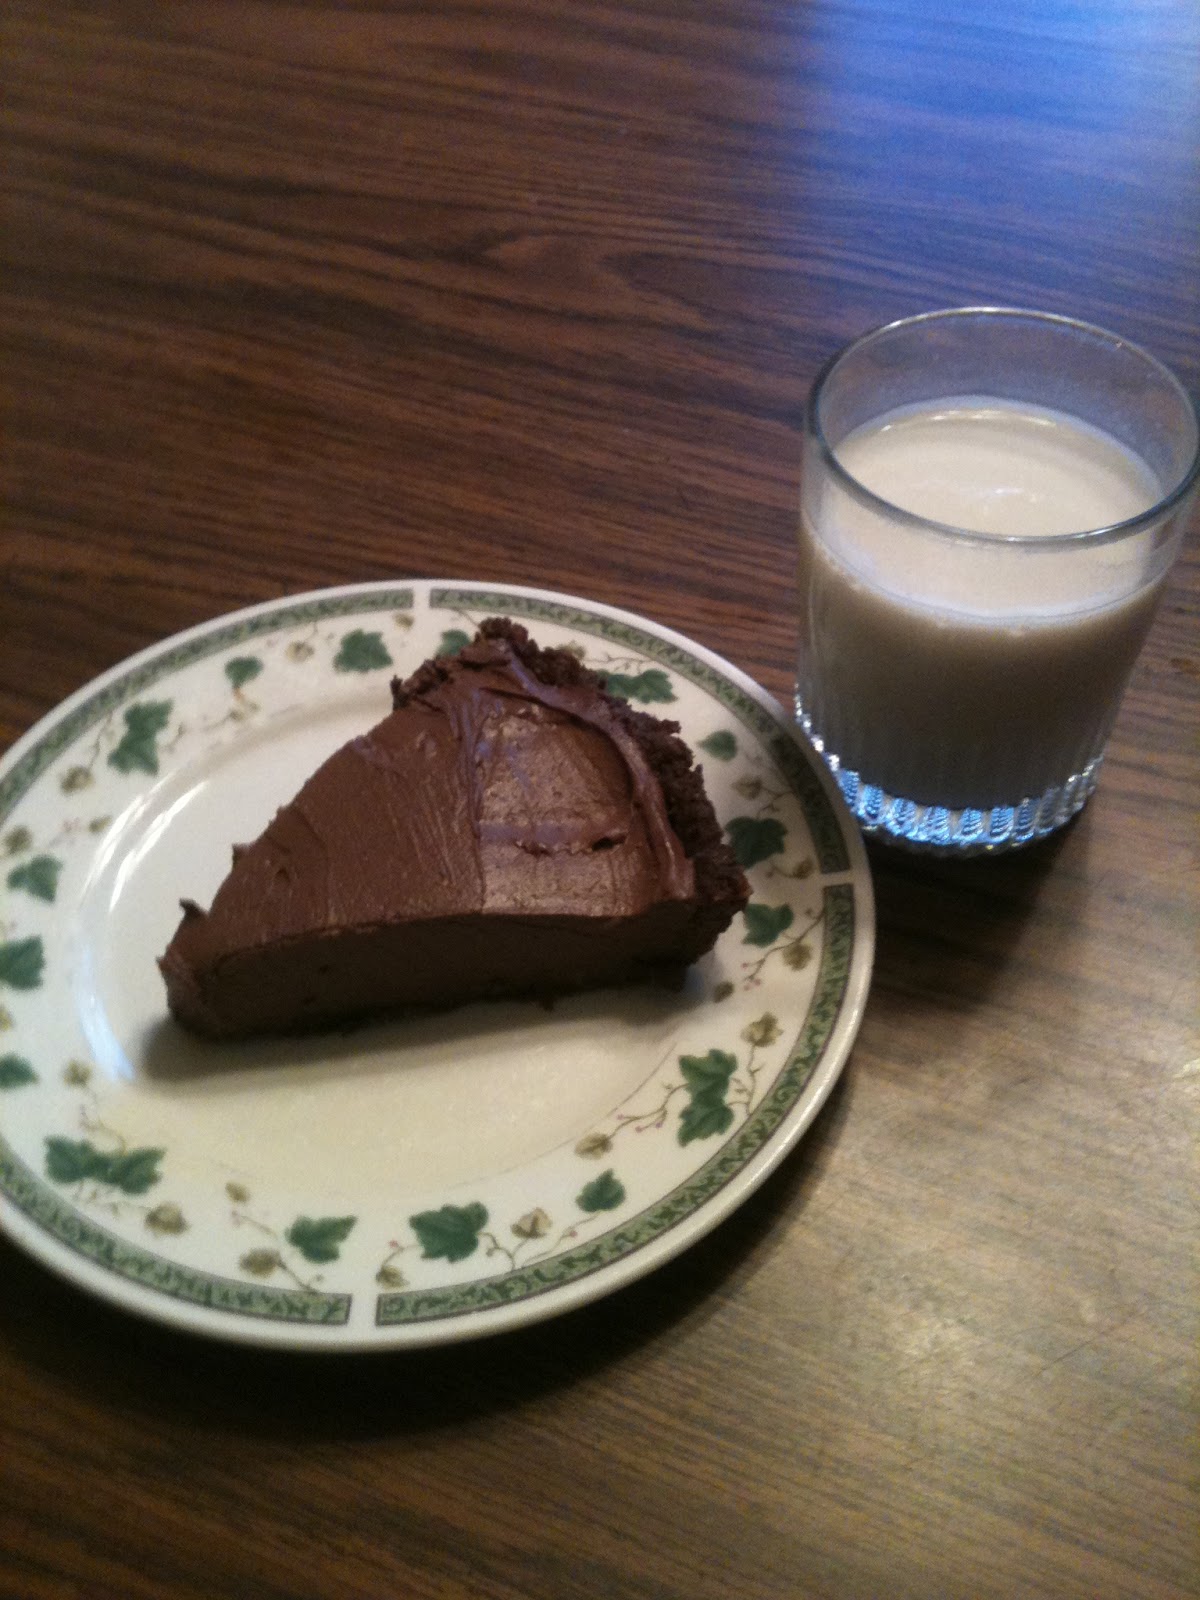
It's my birthday!!!  So of course I made my favorite chocolate pie! 


I recommend using a graham cracker crust for this pie, either homemade or store-bought.  For a vegan, gluten free pie crust try this recipe.


Ingredients:
Directions:
  1. In a blender, blend the silken tofu until creamy. 
  2. Melt the chocolate chips in a microwave in 30 second increments.
  3. Add the melted chocolate chips and vanilla extract into the blender with the tofu and blend until well mixed and smooth, scraping down the sides with a spatula as needed.
  4. Pour into a pie pan.  Place in fridge for at least 2 hours before eating to allow it to firm up.  The longer the pie sits in the fridge, the thicker and richer the pie gets!


The best thing about this pie is it is so simple and who doesn't love a delicious chocolate pie that is super easy to make.  It means there is time to make it again and again!


Monday, June 4, 2012

Quinoa Peach Pudding

About two months ago I was at my favorite restaurant, Great Sage, with a group of people from the cat shelter where I help volunteer.  For dessert, one person ordered Quinoa Pudding.  It was served in this small shot glass; it was called "Just A Taste" and it looked so good!  I absolutely love quinoa and thought this was an amazing idea.  I went home and immediately googled recipes to get some ideas of how I could make this at home.  After making my version, I definitely want to go back to Great Sage to compare how their version tasted.


This recipe was inspired from Great Sage's Quinoa Pudding:

Ingredients:
  • 2 cups cooked quinoa
  • 2 cups almond milk
  • 2 peaches (washed, peeled, and chopped)
  • 1/2 cup maple syrup
  • 2 teaspoons lemon juice
  • 1 teaspoon cinnamon
  • 1 teaspoon vanilla extract
Directions:
  1. Place all ingredients in a saucepan.
  2. Bring to a boil over medium high heat, then reduce to simmer on low for about 20 minutes, or until creamy. Adjust flavor and consistency if needed. (Mine actually took a while, and I added a little extra quinoa.)
  3. Spoon into 4 parfait classes and serve warm or chilled. (I served mine chilled, it gets thicker the longer its cooled in the fridge.)
This made 4 huge servings! You can add more peaches if you want more of a fruity flavor or try a different fruit!

Here is the pudding just about to start boiling in the saucepan.


I loved how easy this was to make and how much protein you get from the quinoa!  Next time I think I'll try strawberries!

Saturday, June 2, 2012

Chocolate Chip Cookie Bars

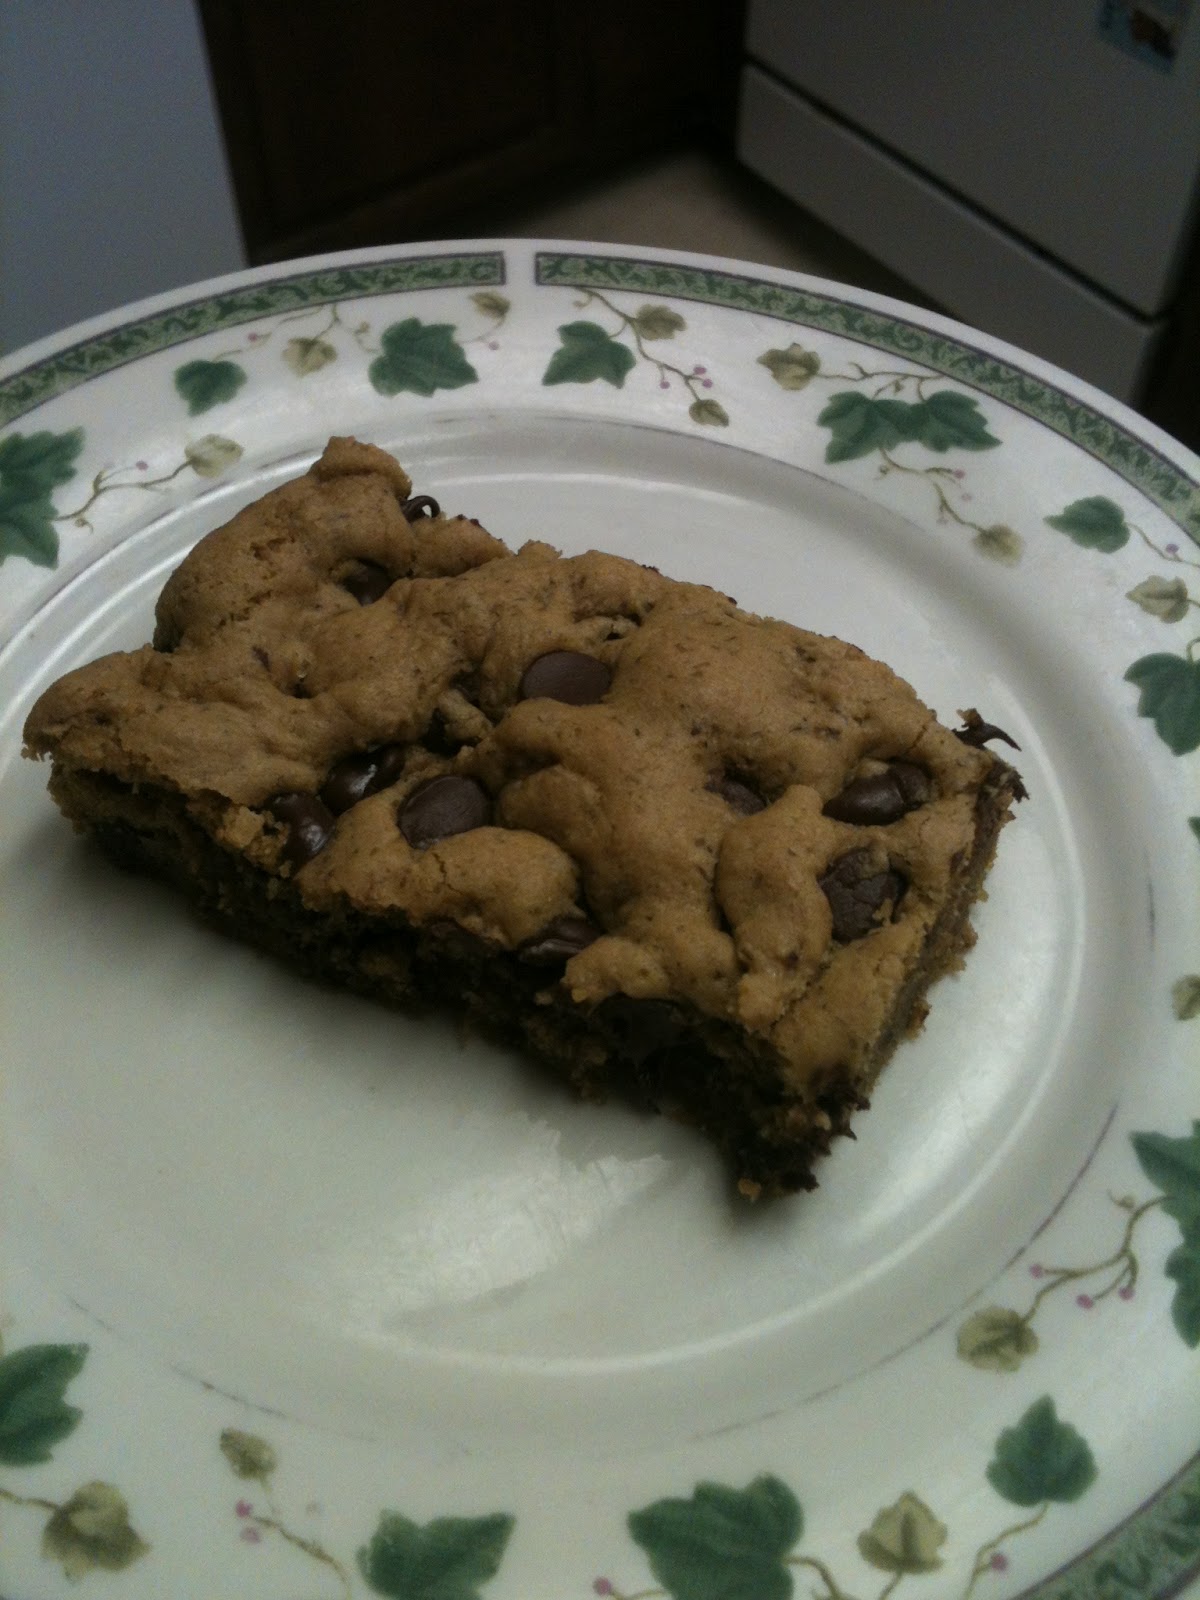
When I first found out I had a gluten intolerance, I bought this book, Eating Gluten Free by Shreve Stockton.


It has this one cookie bar recipe that my family cannot get enough of.  It is not the most healthiest recipe, but it is definitely a recipe worh indulging in every once in a while for a truly sweet treat.  Here's the recipe I adapted to make this delicious treat vegan:

Ingredients:
  • 1 cup sorghum flour
  • 1/4 cup millet flour
  • 3/4 teaspoon baking soda
  • 1/4 teaspoon salt
  • 1/2 teaspoon xanthan gum
  • 1/2 cup butter, softened
  • 1/2 cup brown sugar
  • 1/4 cup granulated sugar (I used raw sugar)
  • 1 teaspoon vanilla
  • 1 flax egg (1 tablespoon flaxseed meal mixed with 3 tablespoons water)
  • 1 cup chocolate chips
Directions:
  1. Preheat the oven to 375F.
  2. Mix together the sorghum flour, millet flour, baking soda, salt, and xanthan gum in a bowl and set aside.
  3. In a large bowl, whip together the softened butter, brown sugar, and granulated sugar.
  4. Add the vanilla and the flax egg and whisk well, until creamy and light.
  5. Gradually stir in the flour mixture, about 1/2 cup at a time.  Once mixed, stir in the chocolate chips.
  6. Spoon the batter into an ungreased 8" square pan and bake for 15 minutes.
  7. Allow to cool slightly, then cut into bars.
Even though there are quite a few ingredients, this recipe takes a very short time to mix together.  These bars taste best the day they are baked.


Friday, May 18, 2012

Chocolate Banana Mousse

I had some leftover silken tofu from when I made Dark Chocolate Mousse for dessert on Mother's Day.  I could have made that same dessert but I wanted to try a different version.  At first I was thinking Peanut Butter Mousse, definitely will have to try that out sometime, but I was in the mood for something chocolatey.  I then came across a recipe for a Chocolate Banana Pudding, and that sounded perfect.  The actual recipe calls it a pudding, but I made mine and let it sit overnight so it would be thicker like a mousse.  I also did not want to use sugar so I used dates as a natural sweetener and it turned out perfectly.  My recipe below only makes 2 servings since I only had 1/2 package of silken tofu left. 

This recipe was adapted from here.

Ingredients:
  • 1/2 banana (I used a frozen one and slightly more than 1/2 since I really like banana flavor)
  • 1/2 package of Mori-Nu Silken Tofu
  • 2.5 tablespoons unsweetened cocoa powder
  • 1/4 cup dates (I used about 5)
  • 1.5 tablespoons almond milk
  • pinch of cinnamon
Directions: Put all ingredients into a blender and process until smooth.  Pour into individual serving glasses and refrigerate for at least an hour before serving. (Unless you want it to be more of a pudding or you just can't wait that long, then you can eat it immediately.)

Note: The longer you let it chill in the fridge, the thicker the mousse will get.

Thursday, April 26, 2012

Chia Pudding

I love chocolate pudding and after hearing about a vegan pudding that used chia seeds, I immediately decided to buy some and try this chocolate chia pudding.  What I love about chia seeds are how nutrious and filling they are.

I have tried a few varieties, and each recipe I have found varies slightly with the amount of seeds, nondairy milk, cocoa powder, sweetners, etc.  Here's some varieties I have tried:

Chocolate Chia Pudding:

Ingredients:
  • 1/4 cup chia seeds
  • 3/4 cup almond milk
  • 1 tablespoon cocoa powder
  • 1 tablespoon pure maple syrup or agave
  • 1/4 teaspoon vanilla extract
  • Optional: Fruit
Directions: Mix everything together in a bowl using a whisk.  Let sit in the refrigerator for at least one hour before serving.  Add fruit topping if desired. (Makes 2 servings.)


(I have also tried this recipe using So Delicious Coconut Milk instead of almond milk and that gave it an additional great tasting flavor!)


Chocolate Peanut Butter Chia Pudding:

Ingredients:
  • 1 cup almond milk
  • 1/4 cup chia seeds
  • 1 tablespoon agave
  • 1 tablespoon cocoa powder
  • 1 tablespoon melted peanut butter OR 2 tablespoons PB2 (mixed according to directions on jar)

Directions: Mix everything together in a bowl using a whisk.  Let sit in refrigerator for at least one hour before serving.  Add a fruit topping if desired. (Makes 2 servings.)
Even though I really enjoy these puddings, especially since they are filling and much more nutritious than regular pudding, I enjoy the Chocolate Avocado Pudding which is much more creamy and still on the healthier side.  But by far my favorite is the Dark Chocolate Mousse which is the creamiest and richest but not as healthy as chia or avocado, but definitely worth a tasty splurge!

Saturday, April 14, 2012

Black Bean Brownies

I have tried a few recipes of brownies made with black beans and this recipe is my absolute favorite.  There is no flour or added sugar, just agave and the natural sugars from the bananas!  In these brownies you can not taste the black beans, but you get a pretty strong banana taste (depending on the size of your bananas and how ripe they are) with a hint of chocolate.  This recipe was adapted from Happy Herbivore's Black Bean Brownies.

Ingredients:
  • 15 ounces black beans, drained and rinsed (1 can)
  • 2 whole bananas (barely ripe bananas work best - mostly yellow with a little green at the tips. My bananas were yellow with a few brown specks)
  • 1/3 cup agave
  • 1/4 cup unsweetened cocoa
  • 1 tablespoon cinnamon (use less if you don't like a cinnamoney flavor)
  • 1 teaspoon vanilla extract
  • 1/4 cup instant oats
  • 1/4 cup raw sugar (optional if bananas are very green)
Directions:
  1. Preheat oven to 350F and grease an 8x8 pan or line with parchment paper.
  2. Blend black beans in a blender or food processor for about 30 seconds.  Then, add bananas and blend for about 15 seconds (you might need to mix the beans and bananas with a spoon.)
  3. Add the other ingrediens excepts oats and blend until smooth, scraping sides as needed.
  4. Stir in the oats with a spoon and pour batter into pan.  Bake 30 minutes or until a toothpick comes out clean.  Allow to cool before slicing.
Notes: If you want less fudgey brownies, add another 1/4 cup oats or flour.  The longer these sit, the more the banana flavor spreads out. If you can wait, try to eat these the next day for the best flavor!


By the way these freeze very well.  I had one in the freezer and am too impatient to wait for it to thaw on its own so I reheated it in the microwave for 30 seconds and it tasted amazing!


This recipe yields 12 brownies.  
Based on not using the optional raw sugar, 1 brownie is approximately 85 calories and 2.5g protein.